Tankless Water Heater Leaking: Causes and What to Do First
Shutoff steps, common leak sources (fittings, relief valve, condensate line, heat exchanger) and when a leak means replacement.
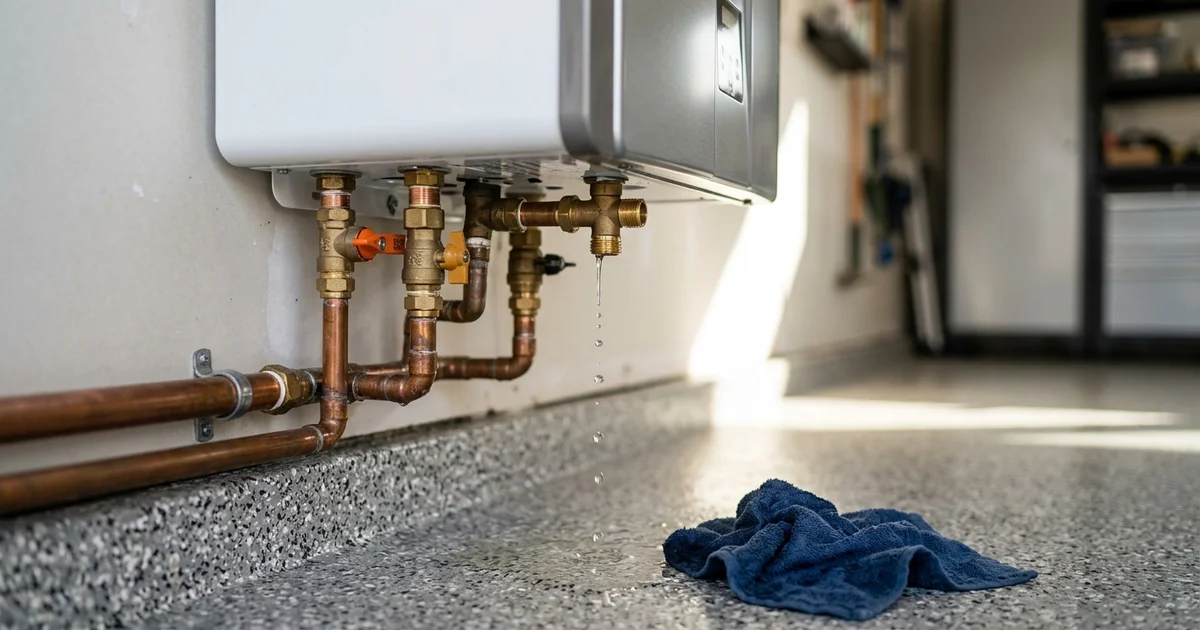
We understand the immediate stress you feel when you discover your tankless water heater leaking. Finding a puddle under the unit usually points to a manageable fitting issue rather than a catastrophic failure.
Upgrading to an eco-friendly, endless hot water system is a great choice for Southern California homeowners, making it crucial to protect that investment. Our team is going to walk you through the immediate steps to secure your home and then explain exactly what causes these drips.
Let’s look at the data behind common failures and explore practical ways to get your hot water running safely again.
First: Stop the Water
Our priority is keeping your property safe from sudden water damage. A ruptured supply line can pump up to 400 gallons of water per hour into your home. Acting quickly minimizes the mess before any diagnostic work begins. We recommend following these specific steps to isolate the unit safely.
- Turn off power to the unit. Unplug it if the plug is dry and easy to reach, or switch off its breaker. Electricity and pooling water are a dangerous combination.
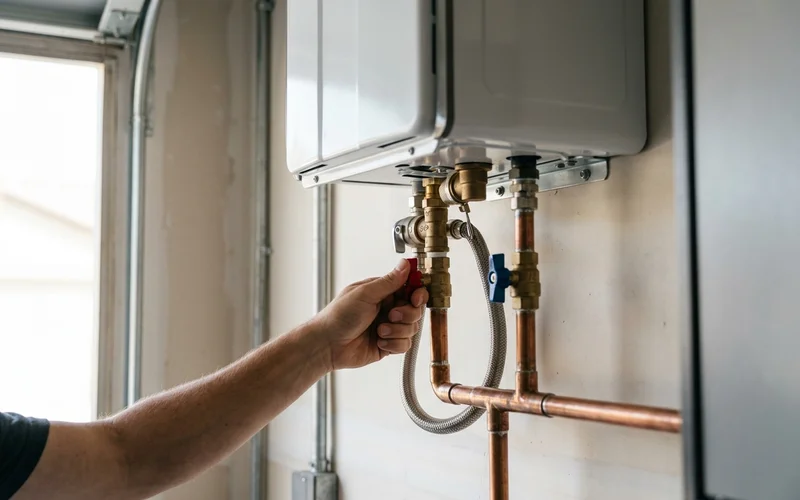
- Close the cold water supply. Most tankless units feature isolation service valves underneath the chassis. Close the cold water valve (usually marked with a blue handle) to block water from entering the heat exchanger. If your system lacks these valves, close the main residential water shutoff.
- Shut off the gas valve. Turn the handle so it sits perpendicular to the gas pipe.
- Relieve pressure and contain the leak. Open a hot water tap inside the house to drain residual pressure. Place towels or a heavy bucket under the drip.
- Document the scene. Take clear photos of where the water originates to help technicians diagnose the fault later.
If you smell gas, leave immediately. A water leak combined with a rotten egg gas odor is a severe emergency. Evacuate the house without touching any electrical switches, and call SoCalGas at 1-800-427-2200 from a safe location outside.
Our tankless water heater repair experts can pinpoint the source and provide a detailed written quote once the area is safe. This initial triage prevents a minor drip from becoming a major home restoration project.
Common Causes of a Tankless Water Heater Leaking
Water fittings and connections
These connections are the most frequent and least severe source of trouble. Threaded connections, dielectric unions, and isolation valves naturally loosen over time. The slight vibration from the burner firing daily gradually backs these fittings out.
Our technicians frequently see this issue after a recent system flush. Tightening a loose push-to-connect fitting or replacing a worn rubber washer is usually a fast, inexpensive fix. You can often spot these drips forming right at the threaded joints under the chassis.
Pressure relief valve
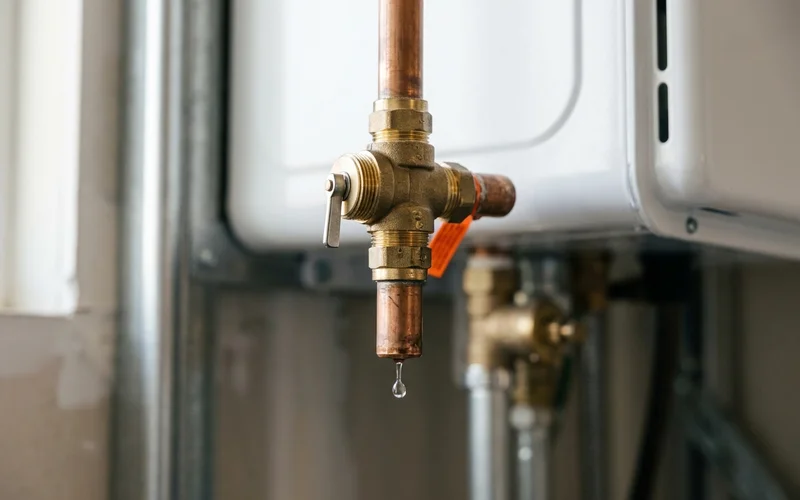
The pressure relief valve opens to discharge water if internal pressure or temperature exceeds safe limits. A valve that constantly drips indicates high household water pressure or thermal expansion within your plumbing system. California residential plumbing codes cap safe incoming water pressure at 80 PSI.
We often find that homes in hillside neighborhoods receive street pressure well over 100 PSI. This excessive force wears out the valve spring, causing it to run continuously. A dripping discharge pipe means the safety mechanism is doing its job, but the underlying pressure problem requires immediate attention.
Installing a thermal expansion tank or a new pressure reducing valve solves this specific issue. Our team always tests the static home pressure before simply swapping the dripping component.
Condensate line (condensing units)
High-efficiency condensing units extract extra heat from exhaust gases, creating an acidic liquid byproduct called condensate. This acidic water flows through a dedicated drain line and a neutralizer cartridge before reaching your plumbing. The neutralizer contains calcium carbonate chips that raise the pH level of the fluid to prevent pipe corrosion.
Our maintenance protocol includes inspecting this neutralizer every 12 to 24 months. The alkaline media dissolves over time, leading to sludge buildup that clogs the pathway. A blocked or cracked condensate line will overflow, mimicking a severe internal tankless leaking from bottom issue.
Clearing the blockage and refilling the calcium carbonate chips restores proper drainage. We highly recommend this simple service to prevent acidic water from damaging your concrete floors or cast iron pipes.
Freeze damage
Freezing temperatures can split water lines or crack internal components on outdoor units. Many Southern California homes route plumbing through uninsulated exterior walls or garages. When a rare winter cold snap hits areas like the Antelope Valley or Riverside, overnight temperatures can easily drop into the high 20s.
We see a spike in ruptured systems when power is lost and the internal freeze protection shuts down. The stagnant water inside the copper piping expands as it freezes, creating immense pressure that bursts the metal. Adding proper pipe insulation and a battery backup for the unit prevents this costly winter disaster.
Heat exchanger
A cracked heat exchanger is the most serious and expensive source of a tankless heat exchanger leak. Los Angeles municipal water is notoriously hard, averaging around 10 to 15 grains per gallon of mineral content. These heavy calcium deposits bake onto the heat exchanger walls, creating severe hot spots that eventually warp and crack the metal.
Our repair crews look for water pooling inside the metal cabinet, which is often accompanied by a system error code. Age and previous freeze damage also weaken this vital component over time. Treating your local hard water is the best defense against this specific failure.
Severity Triage
Understanding the urgency of your situation helps you make smart decisions about calling for emergency service. The table below outlines the general severity and standard repair method for each typical failure point.
| Leak source | Severity | Typical fix |
|---|---|---|
| Loose fitting or valve | Low | Tighten or replace the fitting or washer |
| Condensate line overflow | Low | Clear or reconnect the line, check the neutralizer |
| Pressure relief valve dripping | Medium | Check house pressure and expansion, replace the valve if worn |
| Freeze-cracked line or valve | Medium to high | Replace damaged parts, add freeze protection |
| Heat exchanger leak | High | Replace the heat exchanger or the unit |
We use this exact triage matrix when evaluating incoming service calls. A dripping valve can wait for standard business hours, but a ruptured internal pipe requires immediate intervention.
Is It a Leak or Condensation?
On high-efficiency condensing units, a steady trickle of water through the condensate drain line is a perfectly normal part of the heating cycle. A busy household can produce up to two gallons of condensate per hour during peak usage. Water appearing anywhere else on or under the machine indicates a problem.
We always urge homeowners to verify that the moisture isn’t dripping from a completely different source. Check the surrounding area for a leaking pipe above the unit, a compromised roof vent flashing, or a faulty nearby fixture.
These phantom leaks trick people constantly. Our technicians trace water back to unrelated roof or drain issues frequently.
What Happens During a Leak Repair Visit
When a professional arrives, the first priority is confirming the appliance is safely shut down and isolated from power. The technician will thoroughly dry the surrounding area to track exactly where fresh water appears.
We run water through the system under highly controlled conditions to isolate the exact source. This involves utilizing specialized tools like a digital manometer to verify gas pressure and testing the condensate system.
Our diagnostic process focuses on finding the root cause of the failure, rather than just patching the immediate drip. For example, a tankless pressure relief valve leaking repeatedly often points to high municipal water pressure. A fitting that continually loosens might be under severe strain from unsupported copper piping.
You will receive detailed written findings and an upfront quote before any work begins. Simple component replacements are usually completed during the same visit. For major internal failures, the technician will present clear repair and replacement options with transparent pricing.
| What we check | What it tells us |
|---|---|
| Water connections and service valves | Loose or worn fittings |
| Pressure relief valve and household pressure | Whether the valve or the system pressure is the problem |
| Condensate line and neutralizer | Clogs, disconnections or overflow |
| Cabinet interior and heat exchanger | Internal leaks, corrosion or freeze cracks |
| Pipe support and insulation | Strain on fittings or freeze exposure |
When a Leak Means Replacement
A drip originating from a fitting, valve, or condensate line almost never requires a full system replacement. A cracked heat exchanger, however, presents a much larger financial dilemma. We rely on the industry-standard 50% rule to guide this decision. If the repair costs more than half the price of a brand-new installation, upgrading is usually the smarter investment.
The choice to repair or replace depends on several verifiable factors:
- Unit age. A premium tankless water heater generally lasts 15 to 20 years. On an older unit, a failed heat exchanger is often the end of its functional life.
- Warranty. Heat exchangers often carry extended 10-to-15-year manufacturer warranties, so verify your coverage documents first.
- Cause. If severe scale caused the rupture, installing a new part in the same hard water conditions invites the exact same risk without a water softener.
- Cost. A replacement heat exchanger plus skilled labor can easily approach a meaningful share of a completely new installation.
Our comprehensive guide on tankless repair vs replacement walks you through this exact decision-making process.
Preventing Future Leaks
Consistent preventative maintenance catches loose fittings, worn relief valves, and acidic condensate issues long before they cause property damage. Southern California’s hard water requires a professional descaling flush at least once a year. Homes with extremely hard water should schedule this service every six months to fully protect the heat exchanger from scaling.
We strongly advise installing high-quality pipe insulation and a battery backup to prevent split lines in freeze-prone microclimates. Proper winterization secures your equipment against sudden cold snaps. Our thorough tankless maintenance visits handle all these critical safety checks.
The technicians clear the neutralizer, test the safety valves, and flush the mineral buildup. For more detailed information on early detection, the warning signs guide lists other performance issues you should monitor.
Contact our team today to schedule an expert inspection and protect your home’s endless hot water supply. Fixing a small drip now saves your system from major failures down the road.